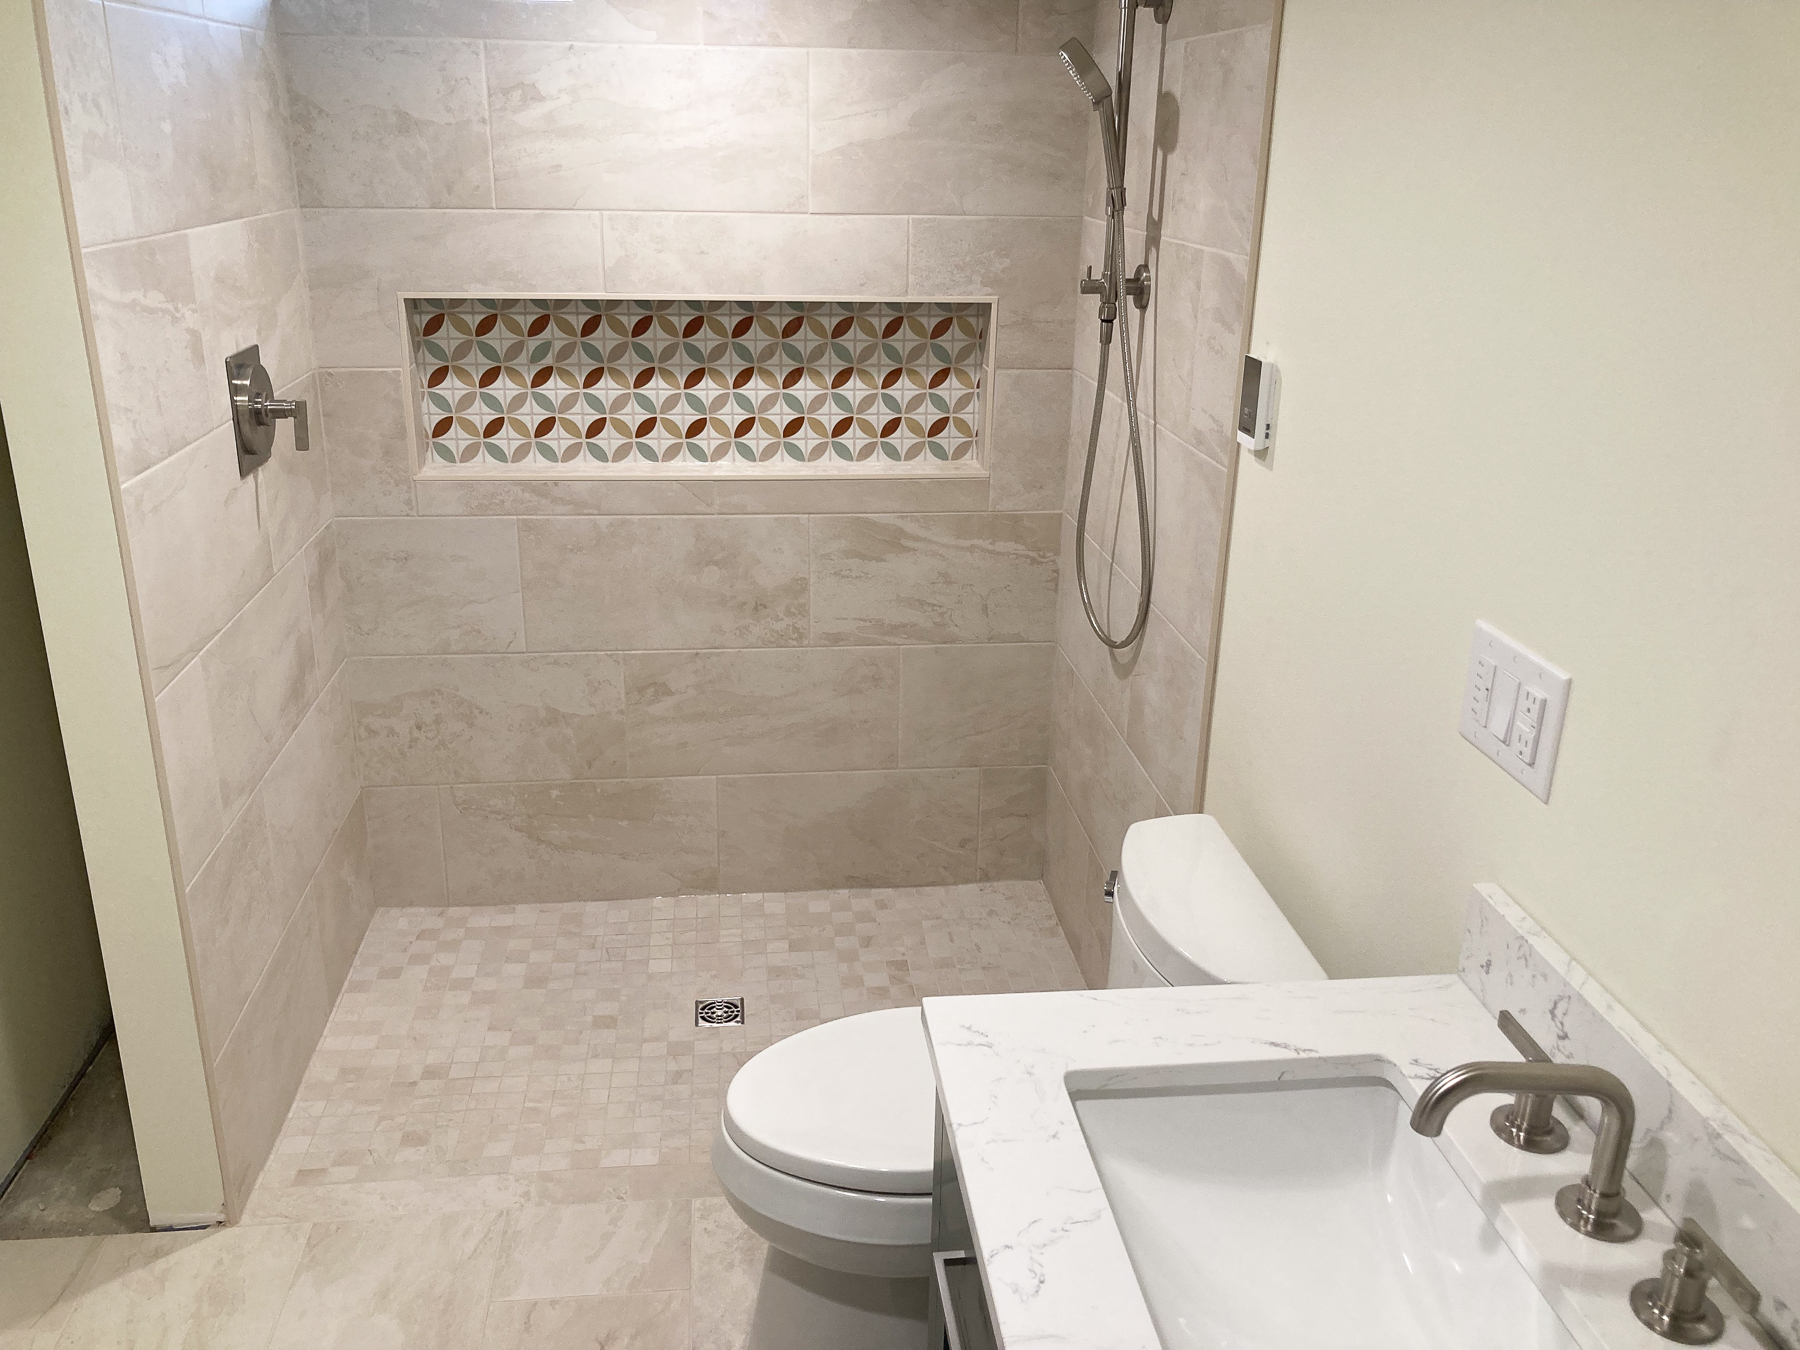
The Process / How It Works

Shower Remodel Process

Bathroom Remodel Process

The Shower Remodel Process

From first conversation to finished shower.

For a standard shower remodel, a formal drawing isn’t necessary. We’ll talk through the details together, and you’ll decide on options for:

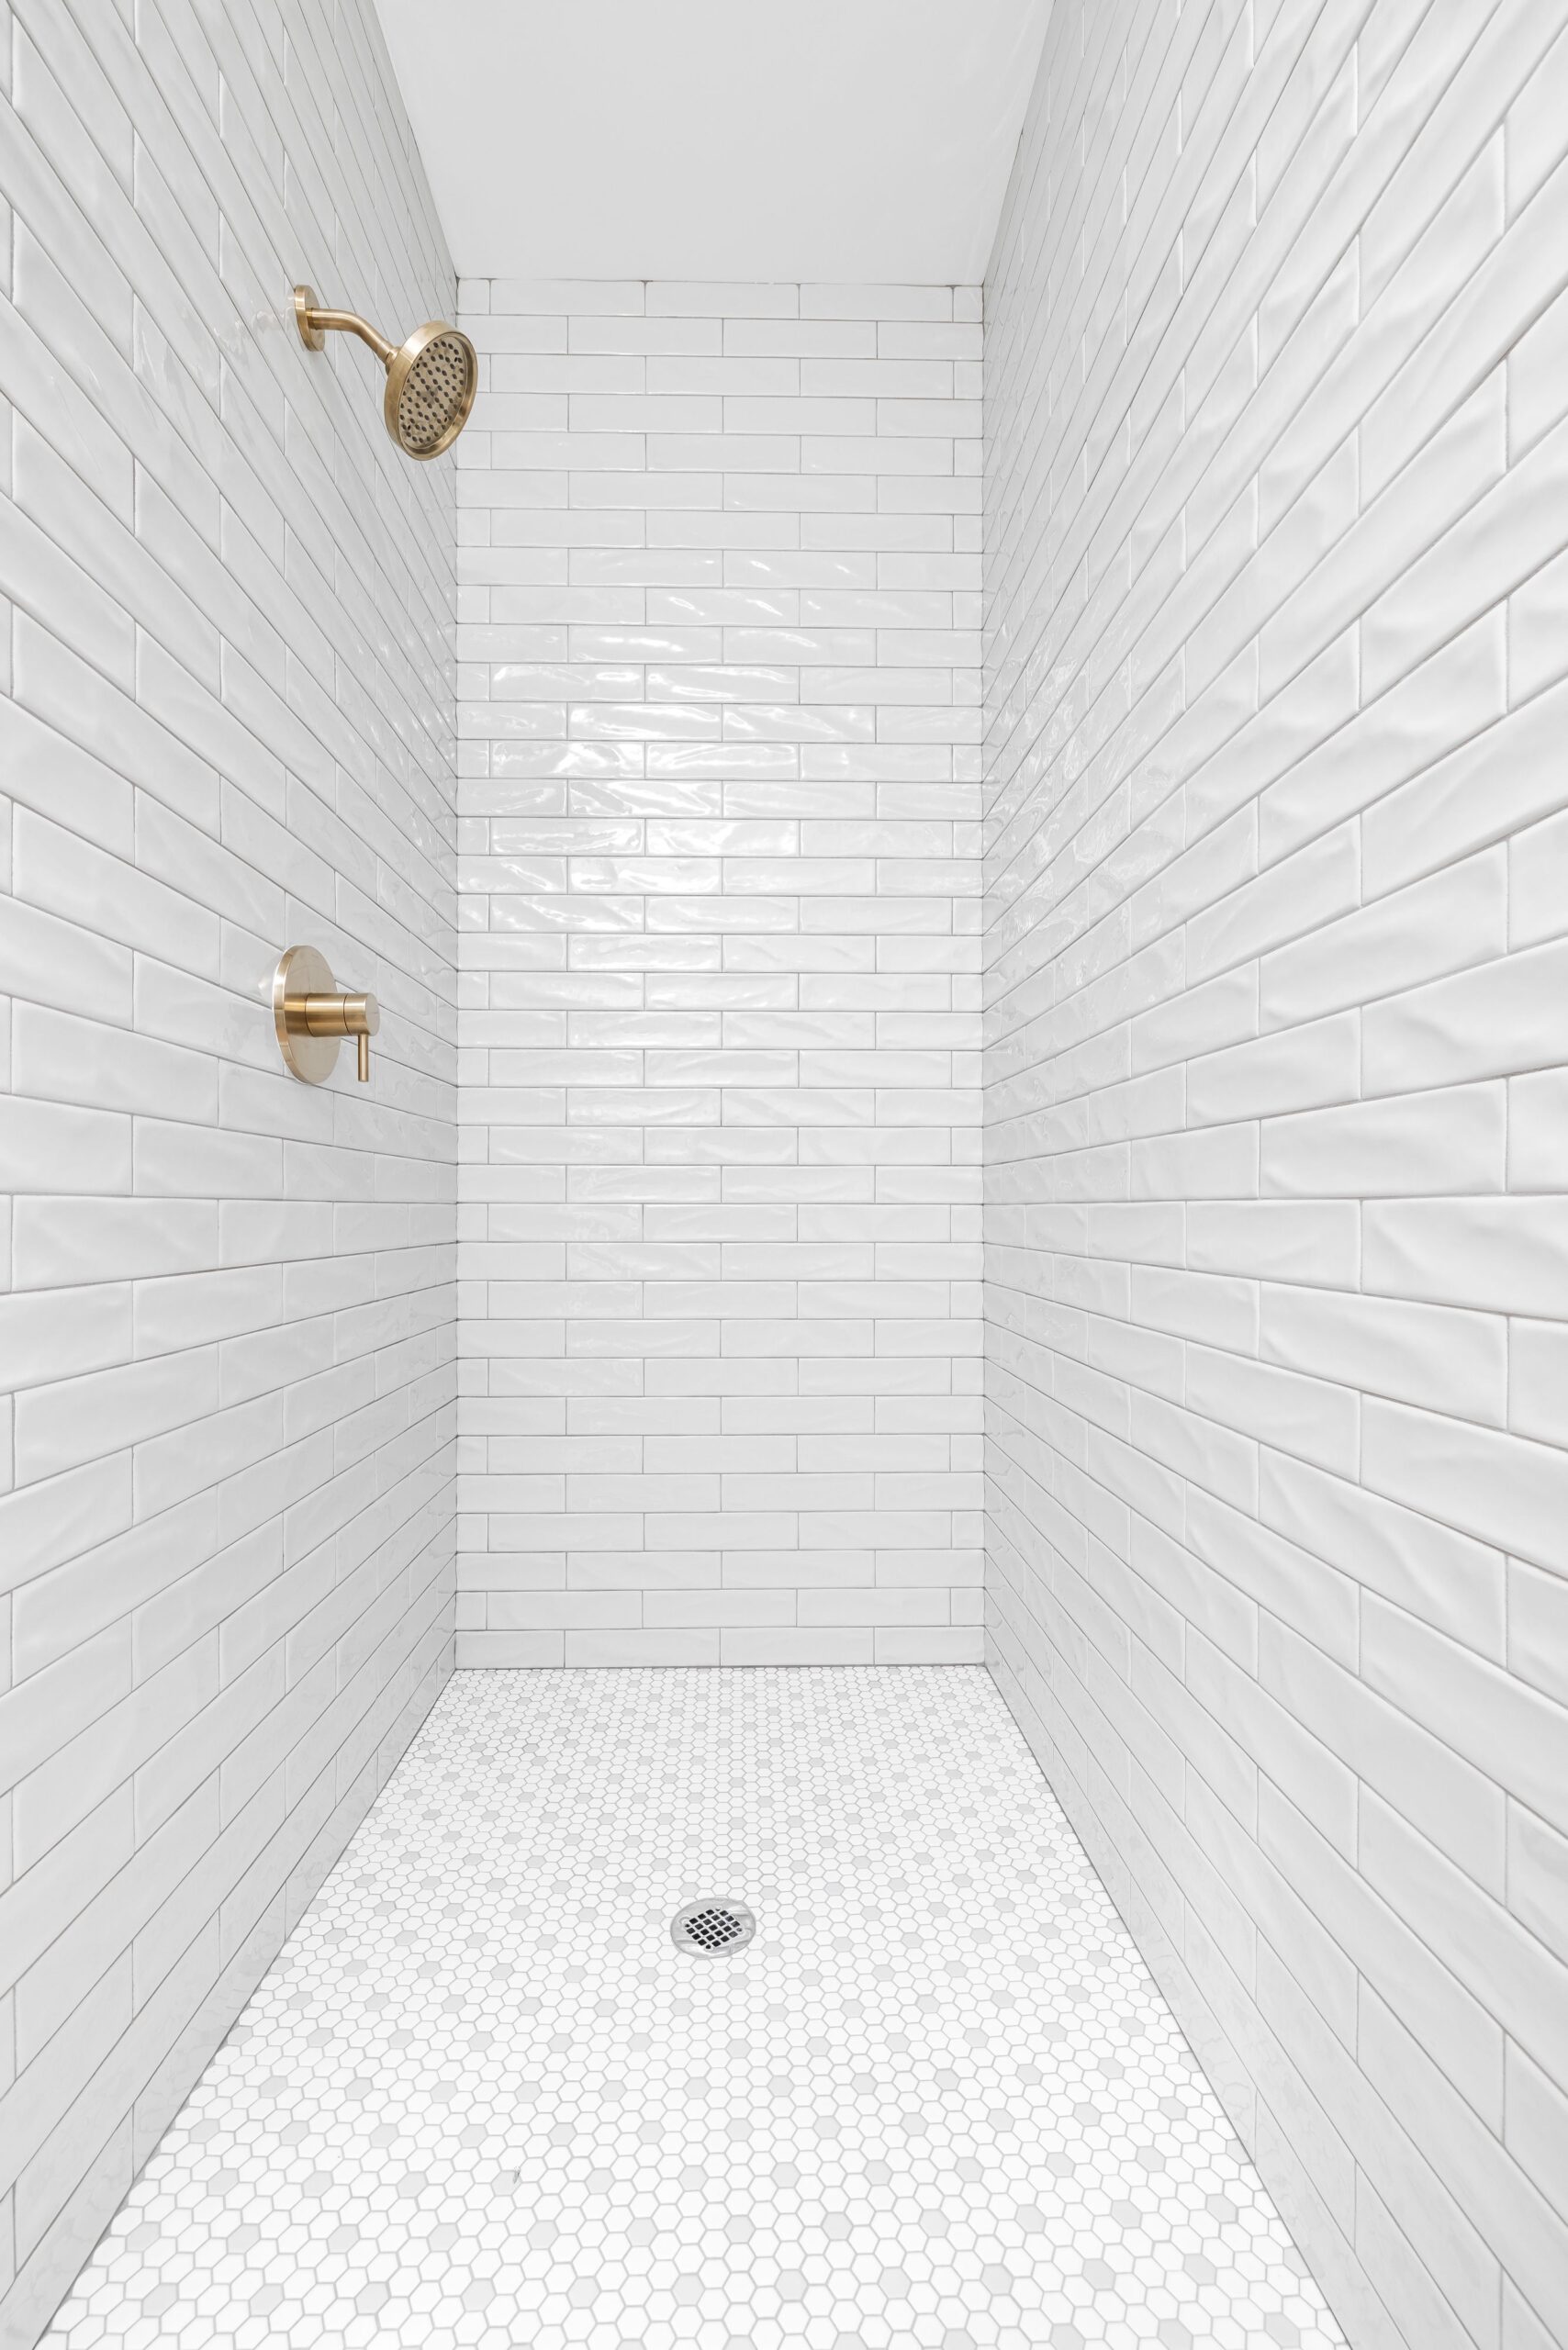
  • Tile
  • Edge finish for the tile, either bullnose or a metal edge profile (if any)
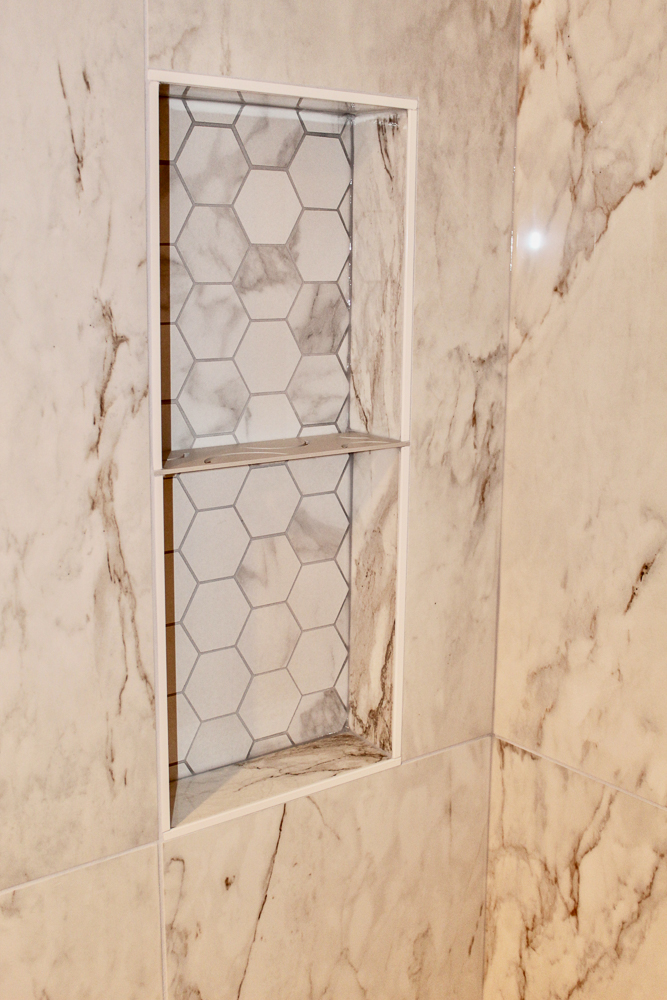
  • Whether you’d like a niche or shelves, including the size of the niche and the number of shelves
  • Plumbing fixtures. Perhaps you’d like new ones. 
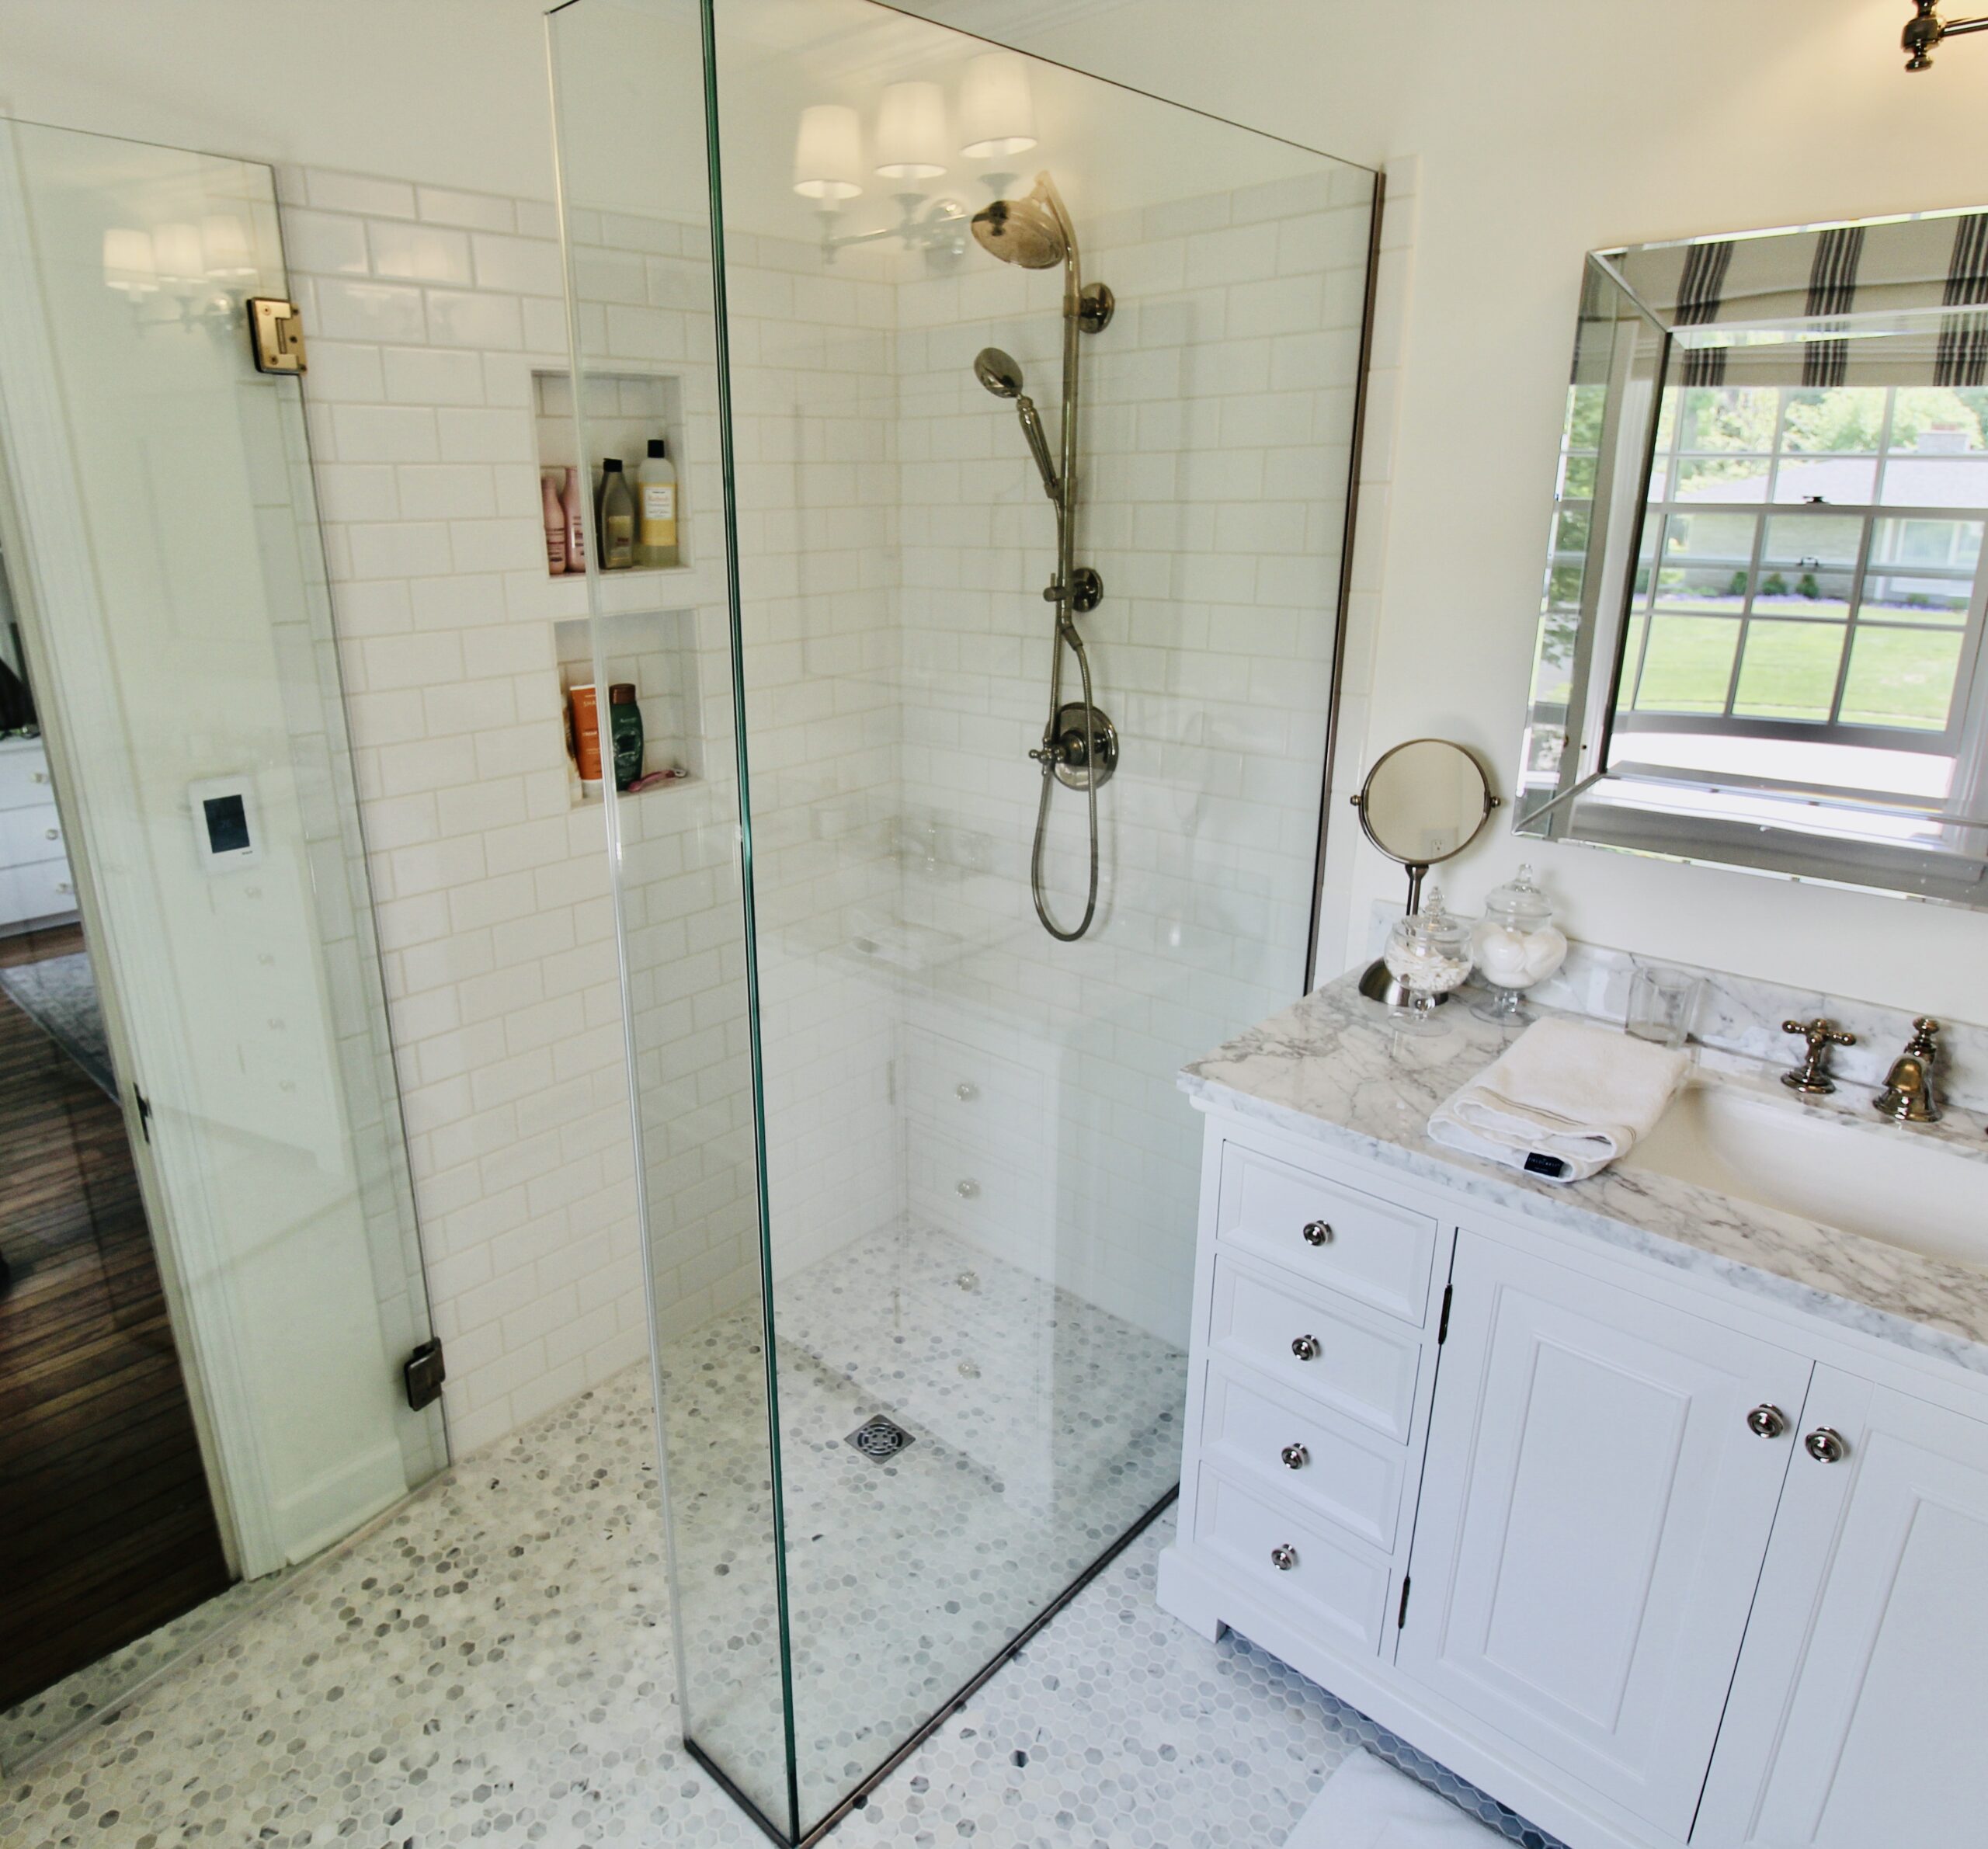
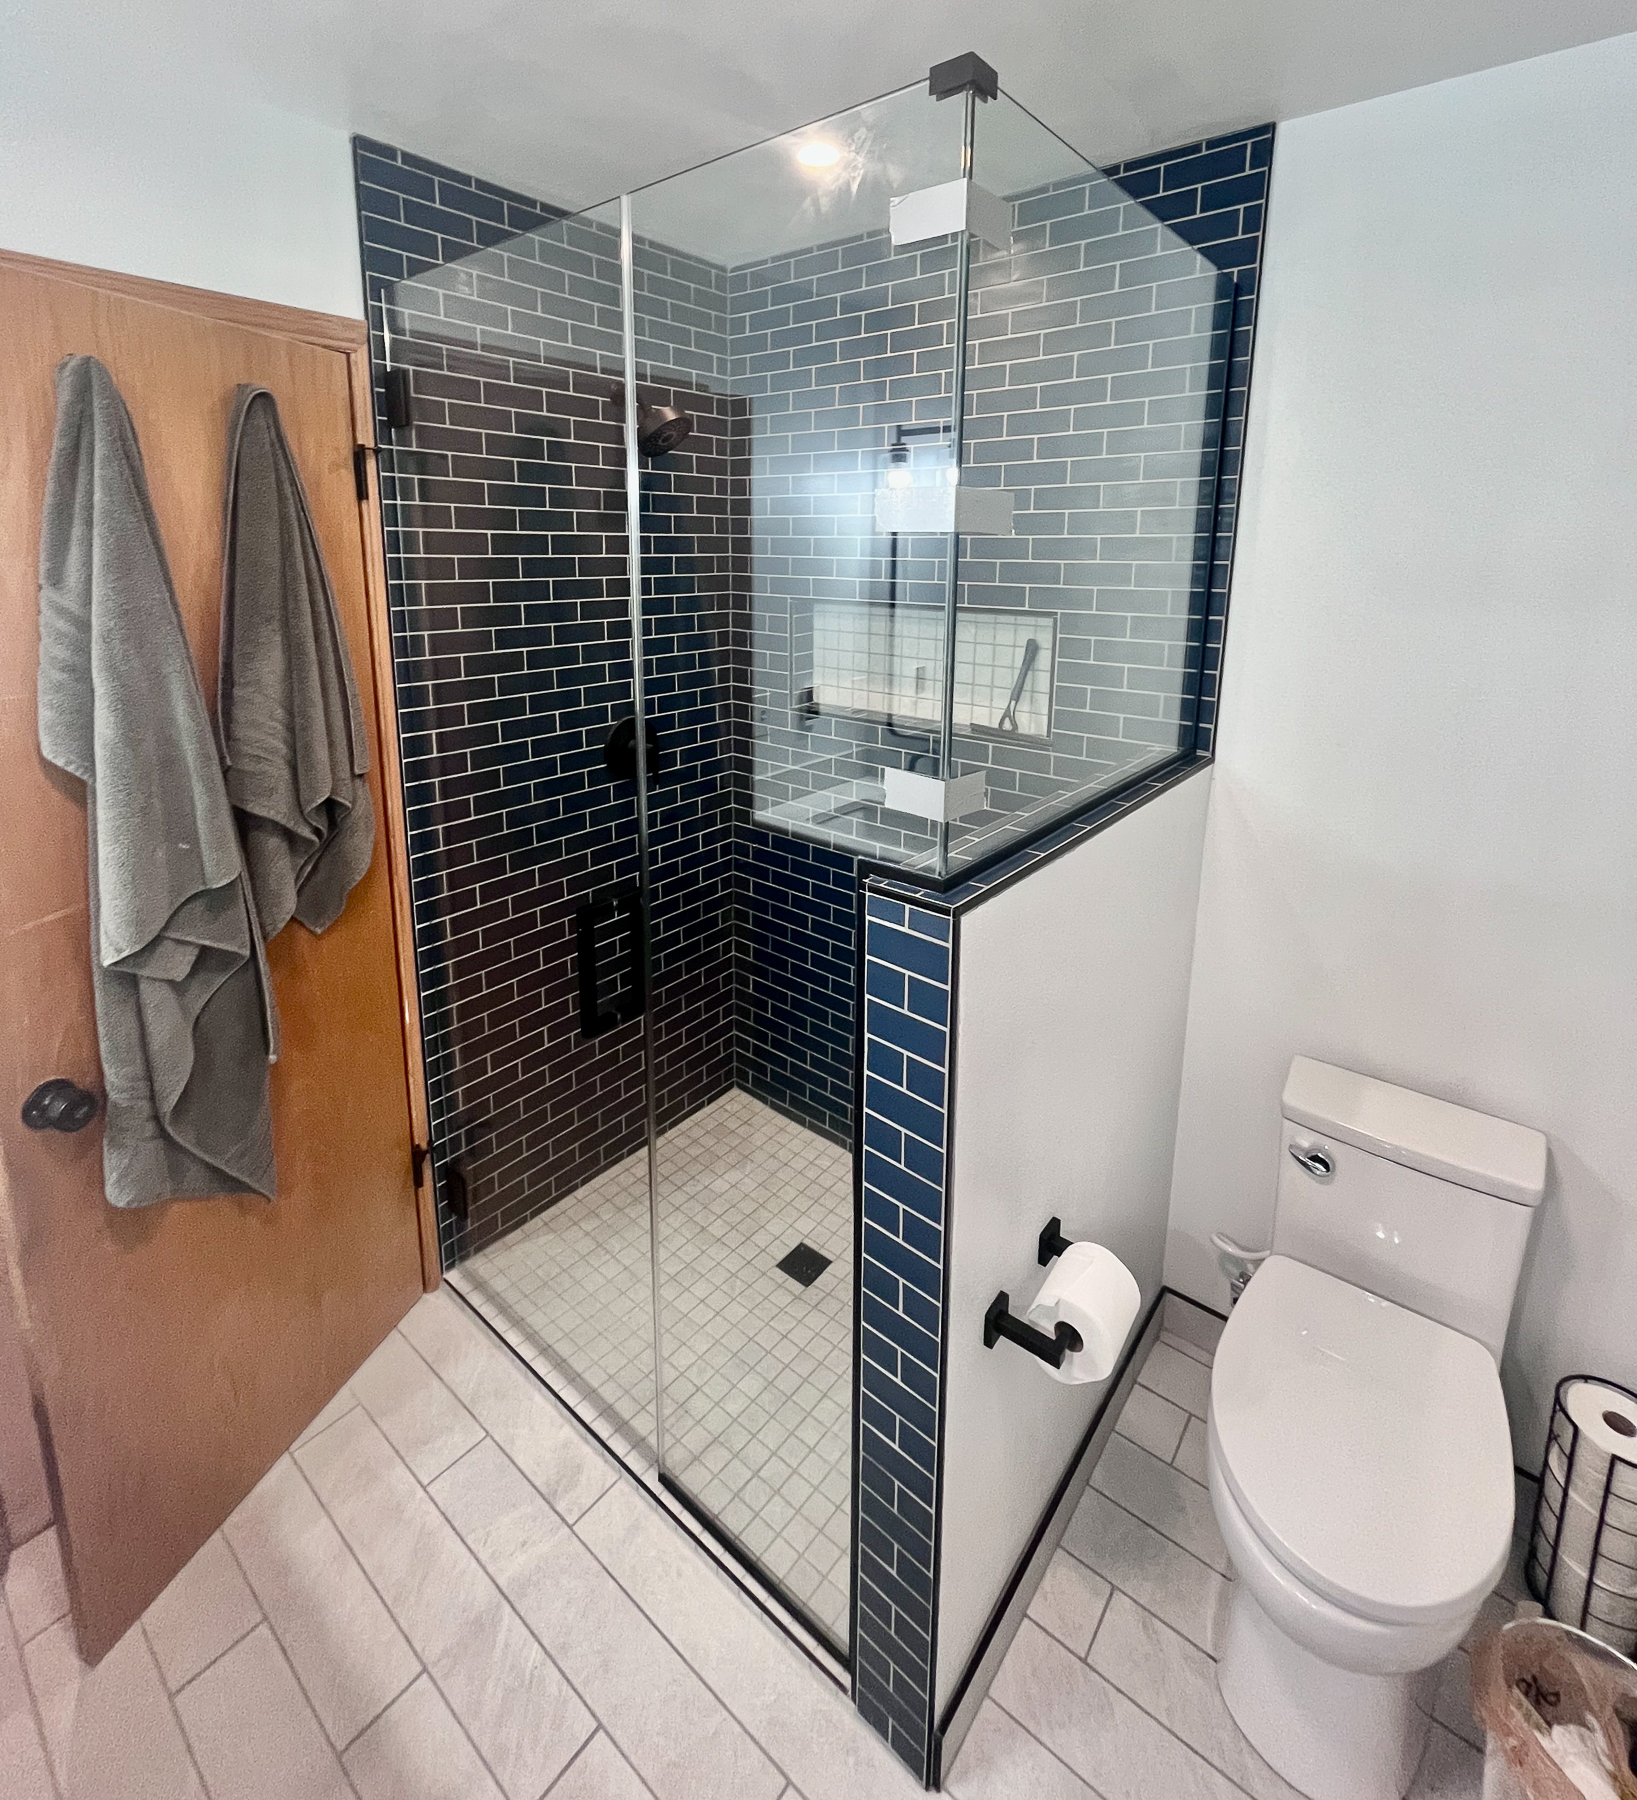
  • Shower Door options. 
  • Any other details specific to your shower

Next, you’ll choose your tile, plumbing fixtures, and shower door from local distributors. I’ll provide a list of local suppliers and help you confirm the details of each selection. 

Once your selections are made and construction begins, your project follows these steps:

  1. Fixture removal. The plumber removes the existing fixtures and may shut off water to the area. 
  2. Glass removal. If you have existing heavy glass shower door panels, the glass company removes and disposes of it.
  3. Demolition. Your existing shower walls, pan, etc. is taken down and all materials are hauled away and disposed of off-site. 
  4. Rough plumbing. Your plumber returns to rework the drain’s p-trap if needed and, in many cases, will install a new mixing valve and shower head and any other rough plumbing needs. 
  5. Tile installation. Your new shower is tiled.
  6. Fixture installation. Your plumber returns to install your finished plumbing fixtures, and the glass company measures for your new shower door.
  7. Shower door installation. Custom glass takes time to fabricate, so the door arrives after the rest of the work is done. Typically in 3-4 weeks. Once it’s installed, your project is complete.

Because needs vary, your project may include or exclude certain items. Some showers don’t need a new mixing valve, while others benefit from a new overhead light or additional lighting, or need drywall repair after demolition. We’ll plan for what your project needs.

Every shower is different. Depending on your project, you may need a new mixing valve, added lighting, or drywall repair after demolition.
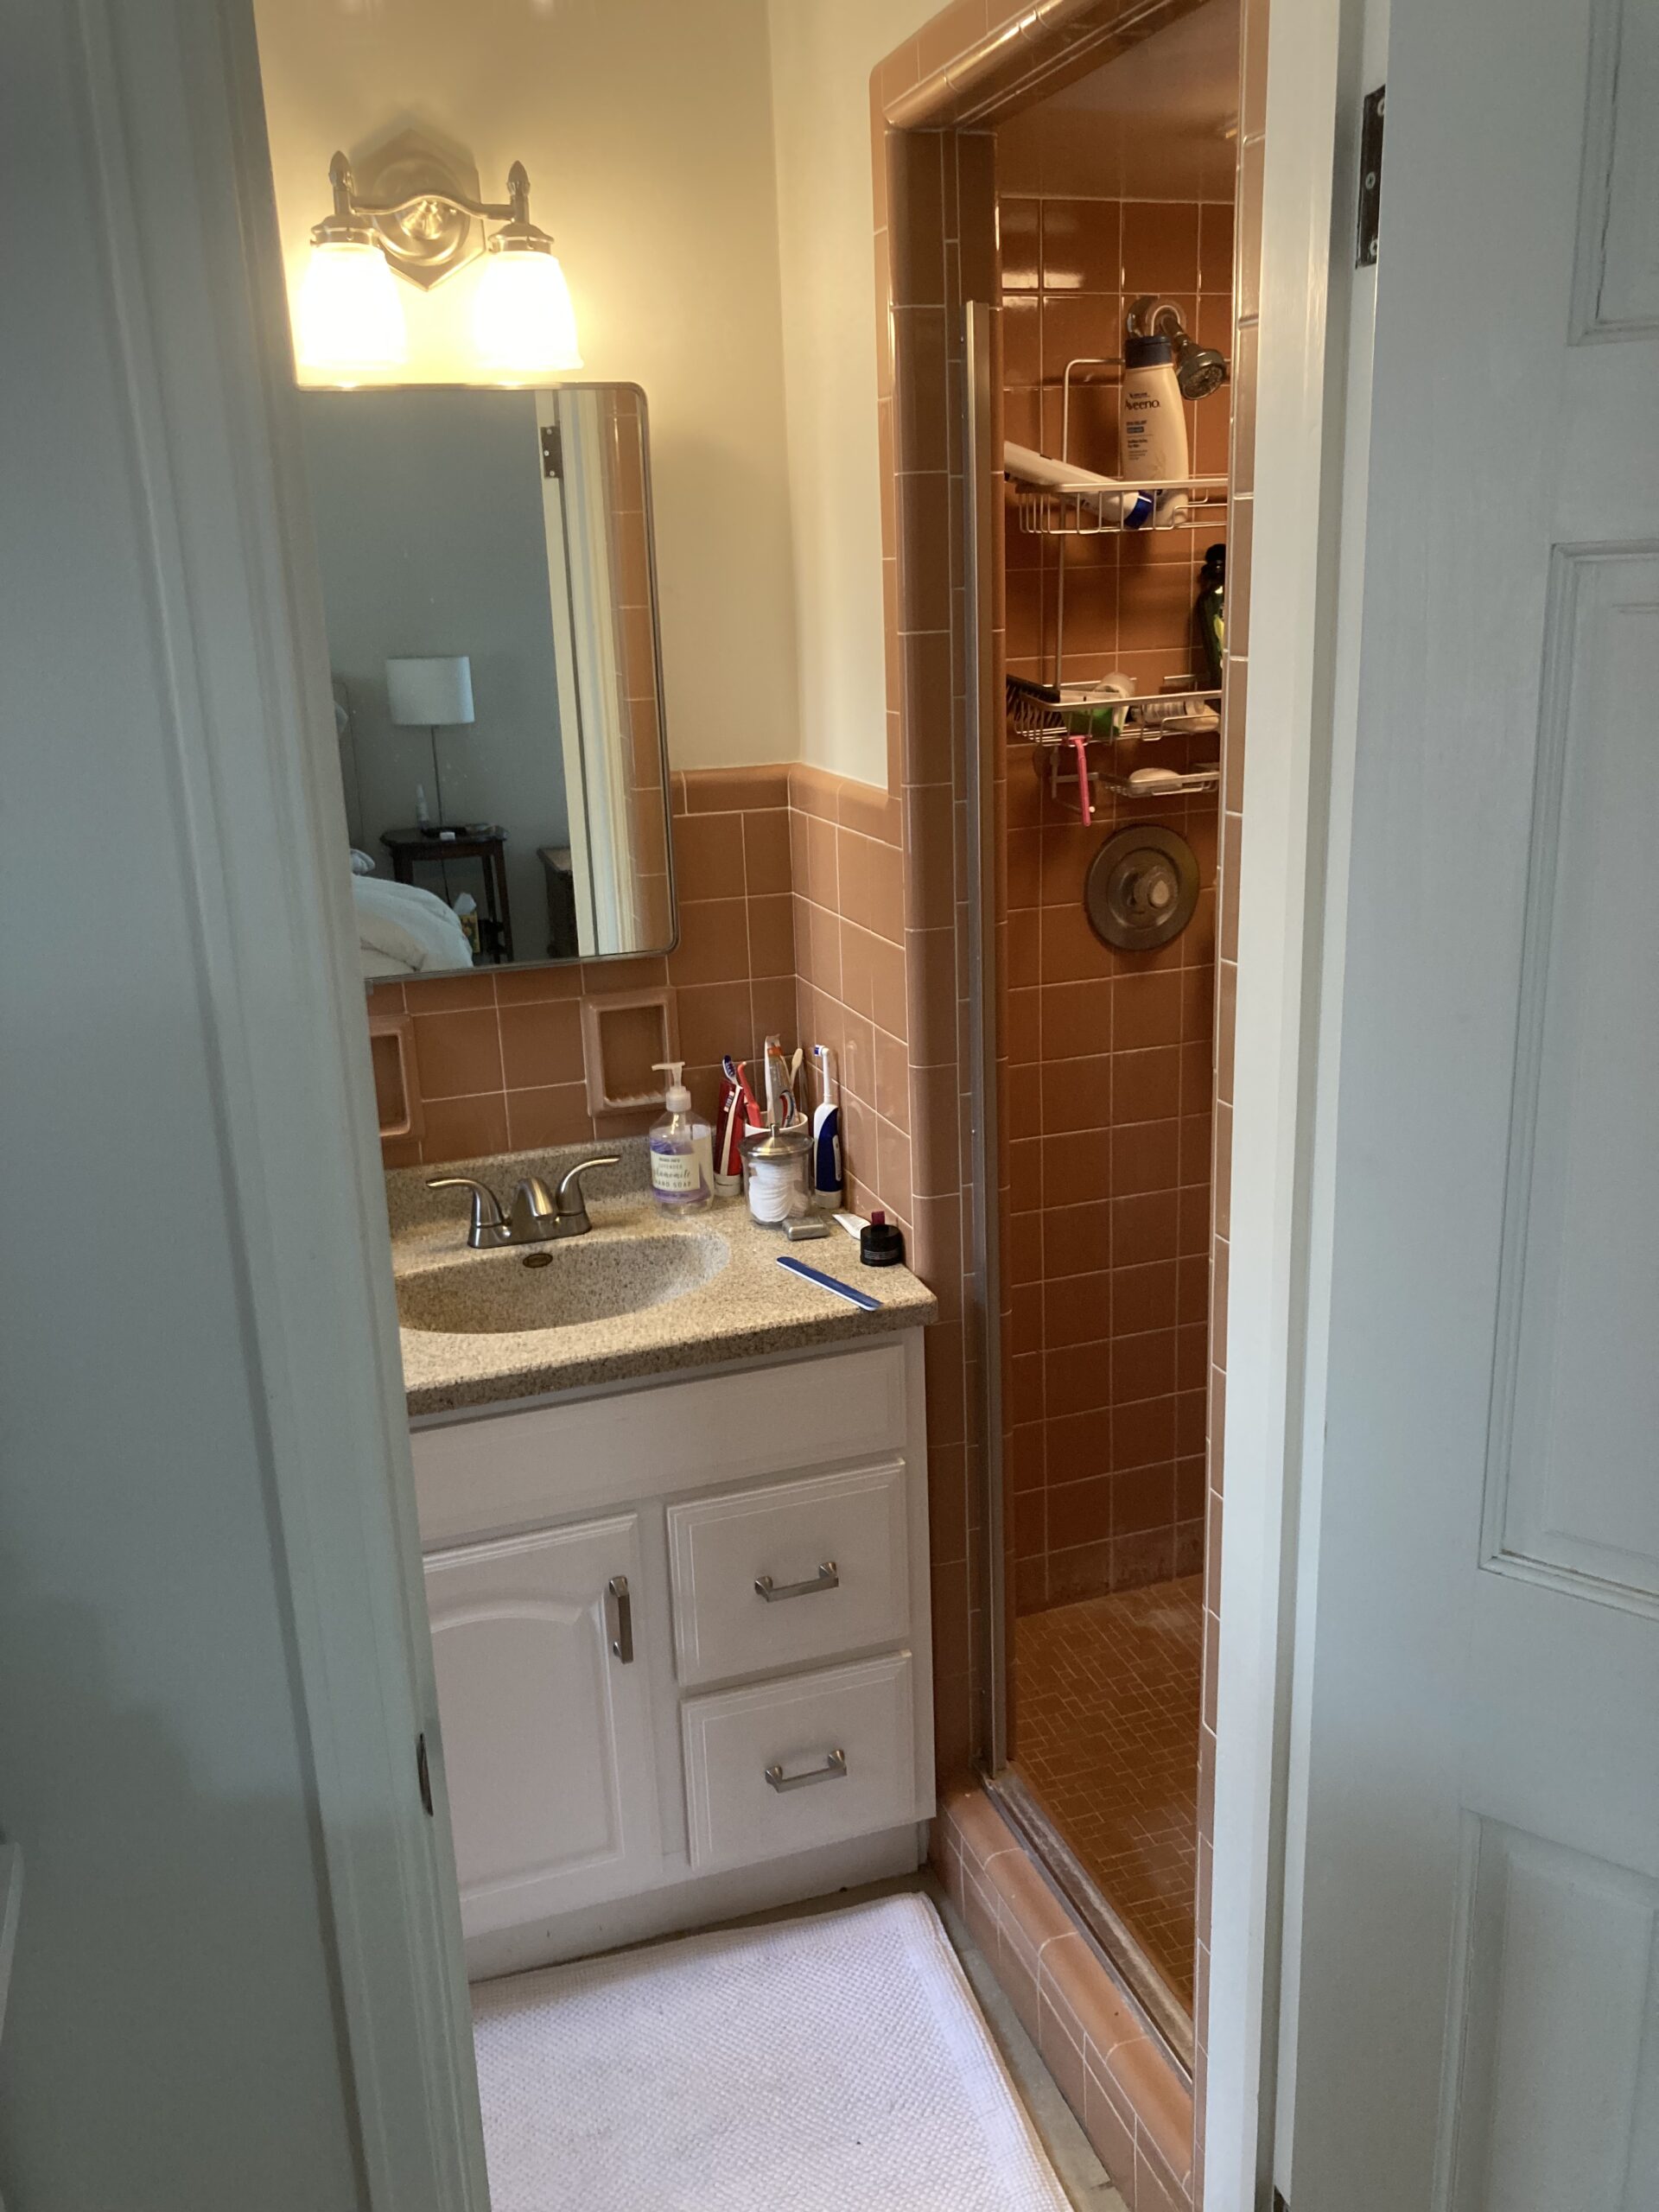
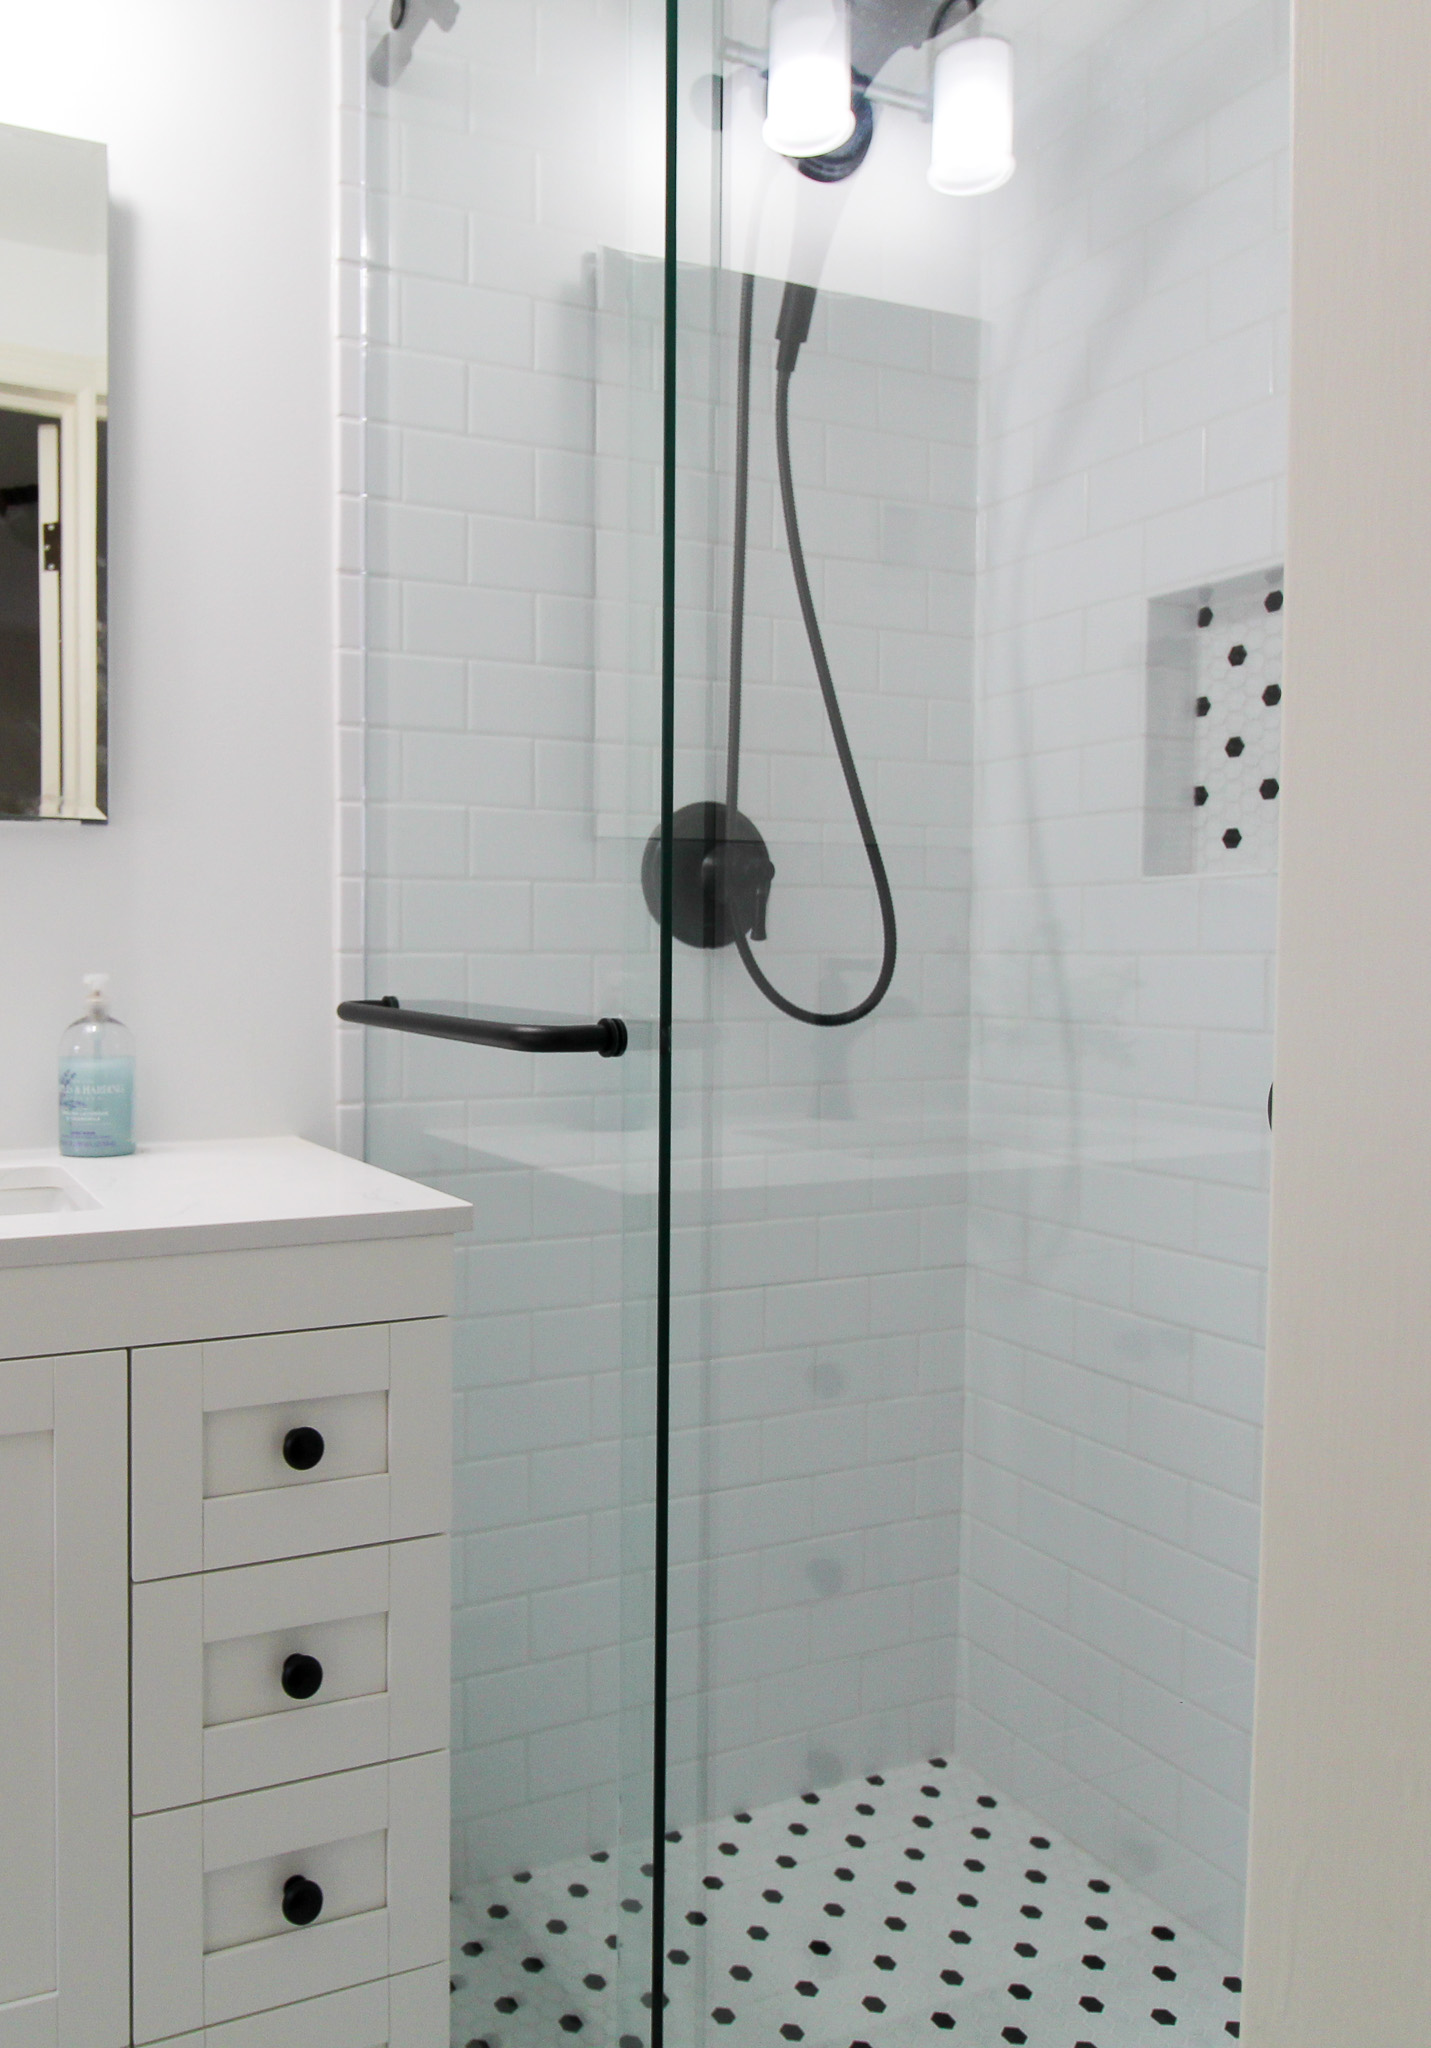
Preconstruction Process for Bathroom Remodels

Plan it right before demo begins.

The best remodels are decided on paper, not on the job site. Before any construction begins, we work through a preconstruction phase together, so you know exactly what you’re getting and what it will cost.

  • Professional drawings. Your bathroom is drawn to scale so you can see the design before it’s built. A drafter or architect is used. This is also necessary for the individual tradesman to estimate off of. It also puts everyone on the same page.
  • Interior design and finish selection. A designer helps you choose plumbing fixtures, tile, hardware, cabinets, mirrors, and more. These are needed for accurate estimates from any trade involved in the remodel. 
  • Expert input on feasibility and cost. We advise on construction methods, material availability, and how each choice affects your budget and schedule, and we speak up if a design detail could cause problems or add too much cost.
  • An exact cost estimate. Once your finishes are chosen, we pass along that information to the tradesmen involved in your remodel and they in return send us their estimates for their part of the project. After everything is compiled you receive a detailed estimate, not a rough guess.
  1. Share your goals. Tell us what you want and what you’d like to spend. 
  2. Begin design. A deposit gets the preconstruction process started with our drafter and we create the drawing. 
  3. Interior designer. You and the interior designer get the drawings and begin the material selections process. 
  4. Receive your estimate. As the plans, selections, and numbers come together we prepare your estimate. 
  5. Decide on construction. The choice is yours, and there’s no obligation to hire us to build your project. You’ll now have all the financial, labor, and material knowledge to make the right decision. 
  6. Permits. If you decide to move forward, we apply for building permits. Cities can take 1 to 3 weeks to review plans.
  7.  

The preconstruction phase typically takes 2 to 12 weeks. How long depends on the size of your project, how quickly you make your finish selections, and how long it takes to gather subcontractor estimates.

Preconstruction is a flat fee based on the size of your project, the number of interior designer hours, and the level of detail needed. If you already have plans but no final selections, the fee reflects that. If needed, additional design time is always available.

  • The deposit is nonrefundable, because it pays for design work that begins right away.
  • Engineering or structural specifications aren’t included. If your project needs them, they’re an additional cost.
  • Construction isn’t part of this phase.

Remodeling Process for Bathroom Remodels

Plan it right before we build.

Every remodel starts with a design phase, so you know exactly what you’ll get and what it will cost before construction begins.

  1. Share your goals. Tell us your vision and your budget. Because I build on a cost-plus contract, you pay the actual cost of labor and materials, with no padding to stretch your budget.
  2. Design. We draft your bathroom and help you choose the finishes.
  3. Review. Approve your drawings and selections, with up to two small revisions included. Changes can always be made later.
  4. Estimate. After your finishes are chosen work starts on the estimate.
  5. Make your decision. Choose whether to build with us. No obligation.
  6. Get the permits. We apply for them before construction begins.
  7. Construction begins. Your new bathroom takes shape.
  8. Finish. New Bathrooms typically take at least a few months to complete. The larger the size and the more intricate the details are the longer it will take.